LinkedIn is one of the largest social media sites in use today – and it has one key difference from the Facebooks and Twitters of the world – its user base consists entirely of professionals. You won’t find any Instagrammed shots of today’s lunch or mopey status updates here, it’s all business on this side of the ‘net.
What is a Company Page?
A company page is your own special piece of real estate on LinkedIn. A company page helps other members learn about your business, brand, products and services. You can also use it to post announcements like job opportunities. Any LinkedIn member can view a company page – and with over 225, 000, 000 registered members, that’s a lot of opportunities to show off your business!
Creating a Company Page
First things first – you’ll need a personal LinkedIn profile, no way around it. If you’ve got your own profile already, you can start creating a LinkedIn Company Page here. If not, create your own personal profile first by visiting LinkedIn.com.
Click the Start Now button, and then you’ll need to supply a company name and your company email address. You will need to have an @companyname email address; a @gmail or @hotmail address will not be valid. Although once you’ve set up your page you’ll able to nominate other Admins and they won’t necessarily need to have a business email address from your company. This is particularly useful if you plan to outsource some of your social media tasks.
Once you’ve got that sorted, you will then need to fill out your profile. Start with the basics: your company name, company description, website address, your specialties, company size and your location. Keep your company’s ideal search terms in mind, and use these keywords throughout your profile. LinkedIn ranks highly in search engines, and is a search engine in its own right, so don’t miss an opportunity to increase your companies search engine optimisation – every bit helps!
Now, onward to the Products & Services tab. This is where you can add all the actual products and services that your company offers. Hover your cursor over the blue arrow of the Edit button and select Add Product or Service. There are 11 Steps to adding a Product or Service, but not all are necessary.

First, select if it’s a Product or a Service, then choose the category that best fits your product/service. Give it a name, and select an image to go with it (images must be 100x80px in JPG, PNG or GIF format). Now, the most important part – the Description. Write a brief description of the product/service – make it snappy, concise and interesting. And like we mentioned earlier, use the SEO keywords from your website throughout the copy.
Step 6 will ask you to add a bulleted list of product/service features related to the product/service you are adding. Use this to list the key features. For example, on the Orion Creative company page we have the Web Design & Development service with the bullets: Content Management Systems, e-Commerce, WordPress and Event Registration.
You can then add a Product Disclaimer if necessary and a URL for the product/service. Link this back to the product/service page on your website so customer’s can learn more about it. This is also a great way to get some external links coming to your site. There are also some further options below this that you can play with, such as adding a Preferred Contact and YouTube videos.
Once you’ve finished with the details, scroll to the top of the page and click Publish. Now go through and do it all again for each of your products and services, remembering to link each product/service back to your site where you can.
Customising Your Page
There aren’t too many options when it comes to customising the look of your page, but since a lot of businesses don’t bother with nice banners and logos, use this opportunity to make your page stand out!
Visit your company Home page, and click the blue Edit button. Scroll down until you see the Image, Standard Logo and Square Logo options. The Image and Standard Logo will be used on your page, while the Square Logo will be used in all your network updates.
The image works much like Facebook’s cover photo, sitting at the top of the page. It’ll be the first thing most of your visitors see, so make it stand out. The cover photo needs to be 646 x 220px and below 2mb in size. If you’re having trouble putting something nice together, give Orion Creative a call – we have plenty of designers here who’d love to help!
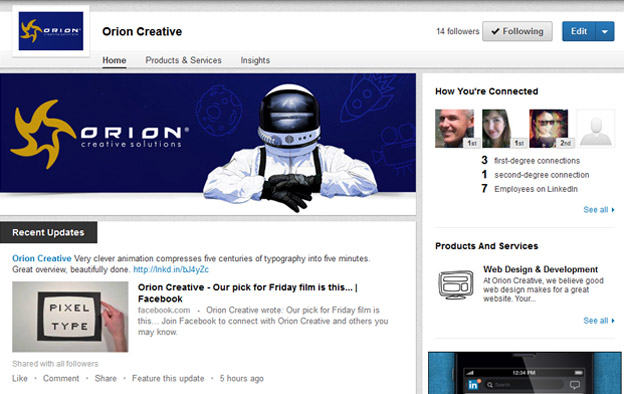
The Standard Logo needs to be 100x60px, while the Square Logo will need to be 50x50px. Try just using an icon or recognizable section of your logo for the Square Logo – it’s only small and you likely won’t be able to fit your entire logo there and still have it readable. On the Orion Creative page, we used our star icon – simple, eye-catching and easily recognisable to anyone who knows us! You can see an example of our page below:
Hopefully by now you’re well on your way to having your business represented on LinkedIn! Keep an eye out for Part 2 of this blog where we explore User Insights, Administration, Posting Updates and Joining Groups.
Update: Part 2 of this blog is now available here – Social Media for Business: LinkedIn (Part 2)
* Thanks to help.linkedin.com and marketing.linkedin.com for some tips and information.